第10节 go air实现项目热加载
❤️💕💕Go语言高级篇章,在此之前建议您先了解基础和进阶篇。Myblog:http://nsddd.top
Go语言基础篇
Go语言100篇进阶
[TOC]
开始准备
使用window的cmd终端,我们直接使用命令code .打开当前文件的vscode
使用
Start .可以打开文件资源管理器
Windows安装go air实现项目热加载
Air 是为 Go 应用开发设计的另外一个热重载的命令行工具。只需在你的项目根目录下输入 air,然后把它放在一边,专注于你的代码即可。
- [x] 仓库地址
安装air
go get -u github.com/cosmtrek/air
安装
推荐使用 install.sh
# binary 文件会是在 $(go env GOPATH)/bin/air
curl -sSfL https://raw.githubusercontent.com/cosmtrek/air/master/install.sh | sh -s -- -b $(go env GOPATH)/bin

# 或者把它安装在 ./bin/ 路径下
curl -sSfL https://raw.githubusercontent.com/cosmtrek/air/master/install.sh | sh -s

air -v
P.S. 非常感谢 mattn 的 PR,使得 Air 支持 Windows 平台。
使用 go install
使用 Go 的版本为 1.16 或更高:
go install github.com/cosmtrek/air@latest
Docker
请拉取这个 Docker 镜像 cosmtrek/air.
docker run -it --rm \
    -w "<PROJECT>" \
    -e "air_wd=<PROJECT>" \
    -v $(pwd):<PROJECT> \
    -p <PORT>:<APP SERVER PORT> \
    cosmtrek/air
    -c <CONF>
例如,我的项目之一是在 Docker 上运行的:
docker run -it --rm \
    -w "/go/src/github.com/cosmtrek/hub" \
    -v $(pwd):/go/src/github.com/cosmtrek/hub \
    -p 9090:9090 \
    cosmtrek/air
使用方法
您可以添加 alias air='~/.air' 到您的 .bashrc 或 .zshrc 后缀的文件.
首先,进入你的项目文件夹
cd /path/to/your_project
最简单的方法是执行
# 优先在当前路径查找 `.air.toml` 后缀的文件,如果没有找到,则使用默认的
air -c .air.toml
您可以运行以下命令初始化,把默认配置添加到当前路径下的.air.toml 文件。
air init
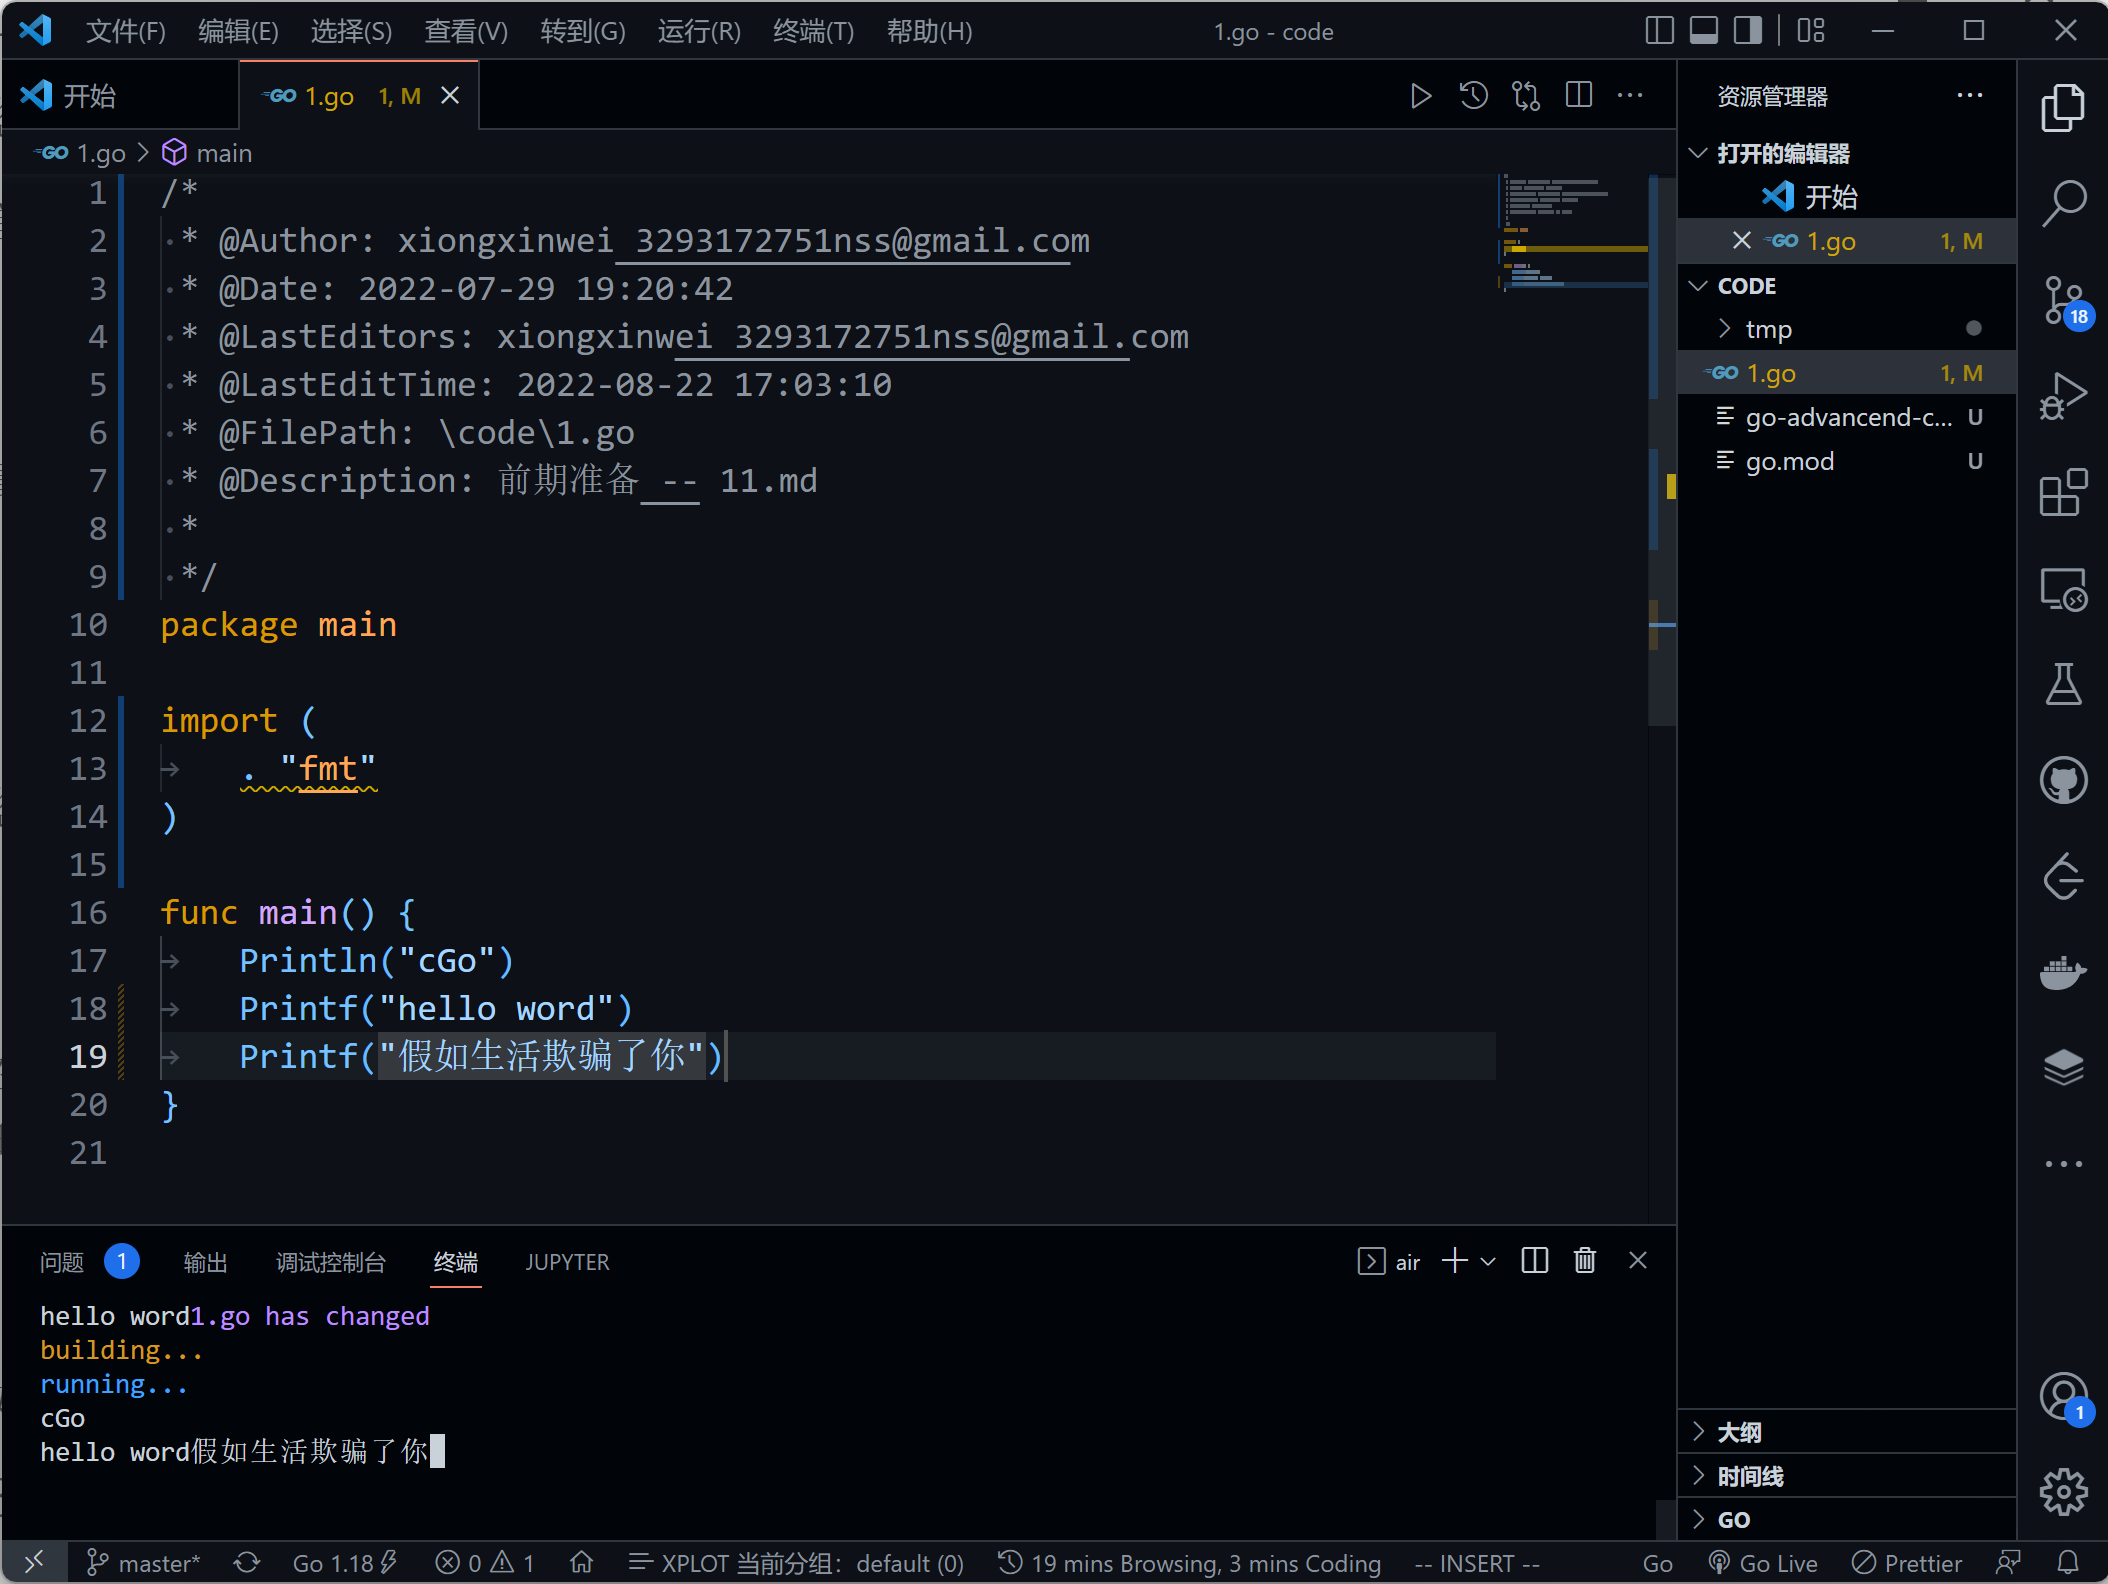
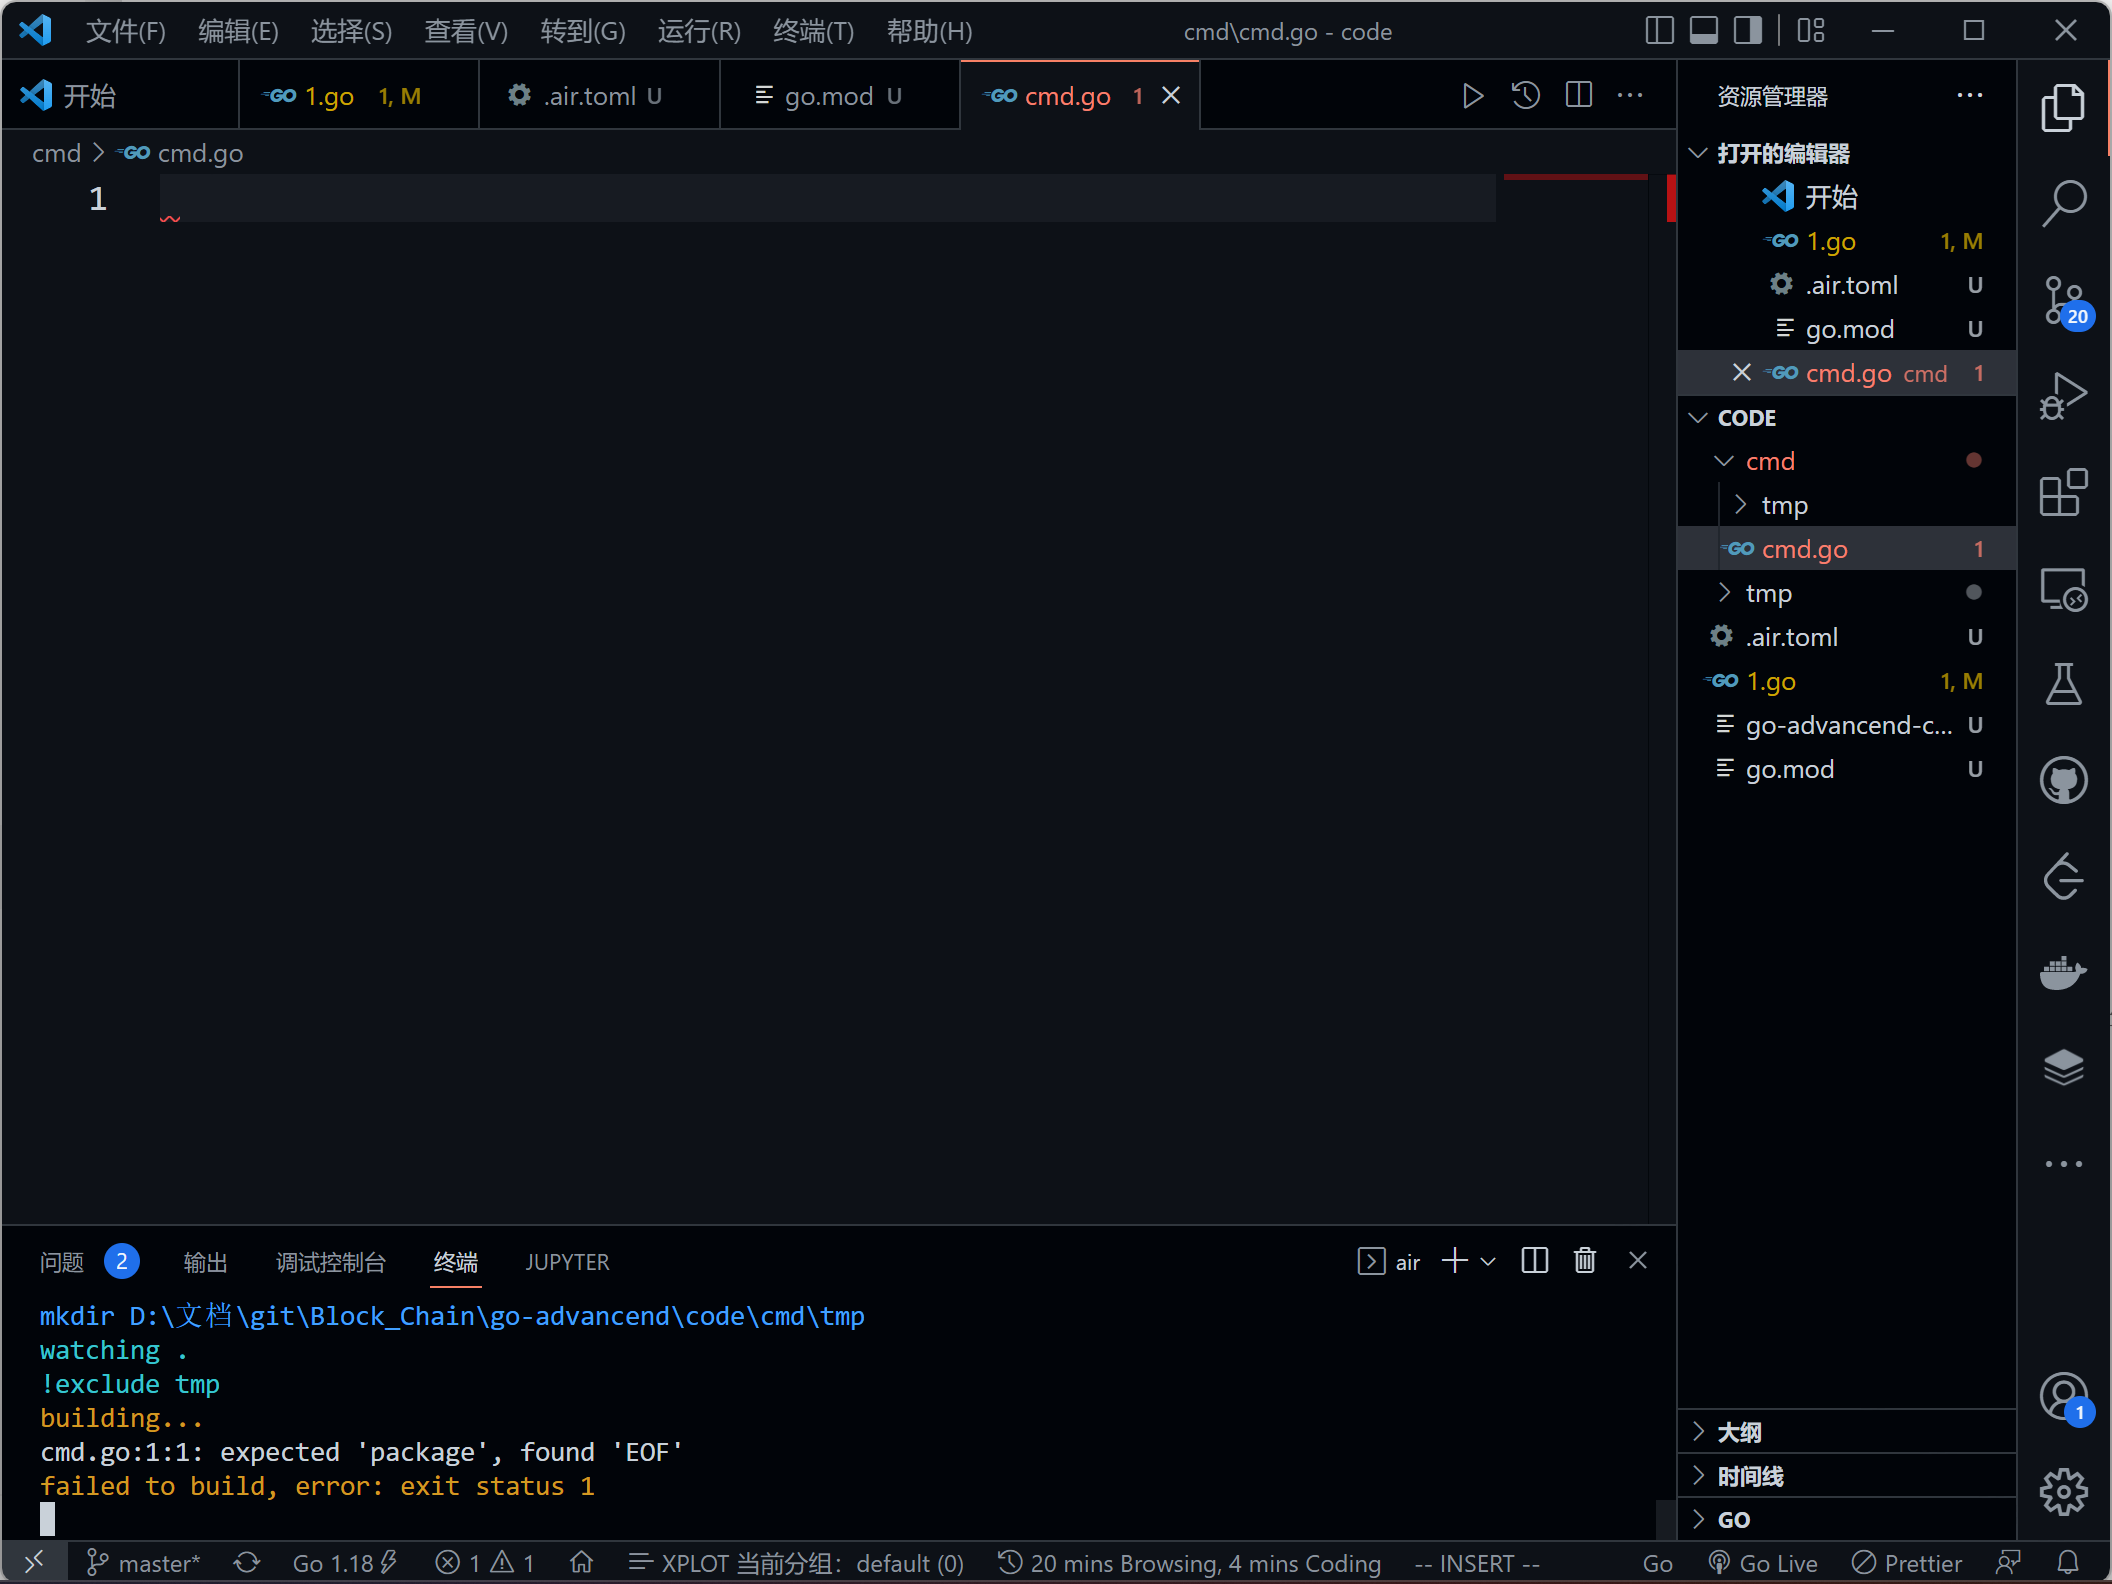
唯一需要讲的地方是在配置文件
.air.toml中:cmd = "go build -o ./tmp/main.exe ."cmd是可以执行air的目录,即使你
go mod init ”name"初始化了,但是也是要加入相对路径的,比如说加入项目根目录下的cmd文件cmd = "go build -o ./tmp/main.exe ./cmd"
在这之后,你只需执行 air 命令,无需添加额外的变量,它就能使用 .air.toml 文件中的配置了。
air
如欲修改配置信息,请参考 air_example.toml 文件.
运行时参数
您可以通过把变量添加在 air 命令之后来传递参数。
# 会执行 ./tmp/main bench
air bench

# 会执行 ./tmp/main server --port 8080
air server --port 8080
You can separate the arguments passed for the air command and the built binary with -- argument.
# 会运行 ./tmp/main -h
air -- -h

# 会使用个性化配置来运行 air,然后把 -h 后的变量和值添加到运行的参数中
air -c .air.toml -- -h
Docker-compose
services:
  my-project-with-air:
    image: cosmtrek/air
    # working_dir value has to be the same of mapped volume
    working_dir: /project-package
    ports:
      - <any>:<any>
    environment:
      - ENV_A=${ENV_A}
      - ENV_B=${ENV_B}
      - ENV_C=${ENV_C}
    volumes:
      - ./project-relative-path/:/project-package/
调试
运行 air -d 命令能打印所有日志。
Q&A
遇到 "command not found: air" 或 "No such file or directory" 该怎么办?
export GOPATH=$HOME/xxxxx
export PATH=$PATH:$GOROOT/bin:$GOPATH/bin
export PATH=$PATH:$(go env GOPATH)/bin <---- 请确认这行在您的配置信息中!!!
部署
请注意:这需要 Go 1.16+ ,因为我使用 go mod 来管理依赖。
# 1. 首先复刻(fork)这个项目

# 2. 其次克隆(clone)它
mkdir -p $GOPATH/src/github.com/cosmtrek
cd $GOPATH/src/github.com/cosmtrek
git clone git@github.com:<YOUR USERNAME>/air.git

# 3. 再次安装依赖
cd air
make ci

# 4. 这样就可以快乐地探索和玩耍啦!
make install
顺便说一句: 欢迎 PR~
发布新版本
# 1. checkout 到 master 分支
git checkout master

# 2. 添加需要发布的版本号
git tag v1.xx.x

# 3. 推送到远程
git push origin v1.xx.x

ci 会加工和处理,然后会发布新版本。等待大约五分钟,你就能获取到新版本了。